

Setting up a new product can be a bit overwhelming, especially for new users. That’s why in this blog post, we’ll walk you through the steps on how to set up Karma quickly and efficiently, so you can start taking advantage of the product from day one.
Adding Karma to Your Slack Workspace
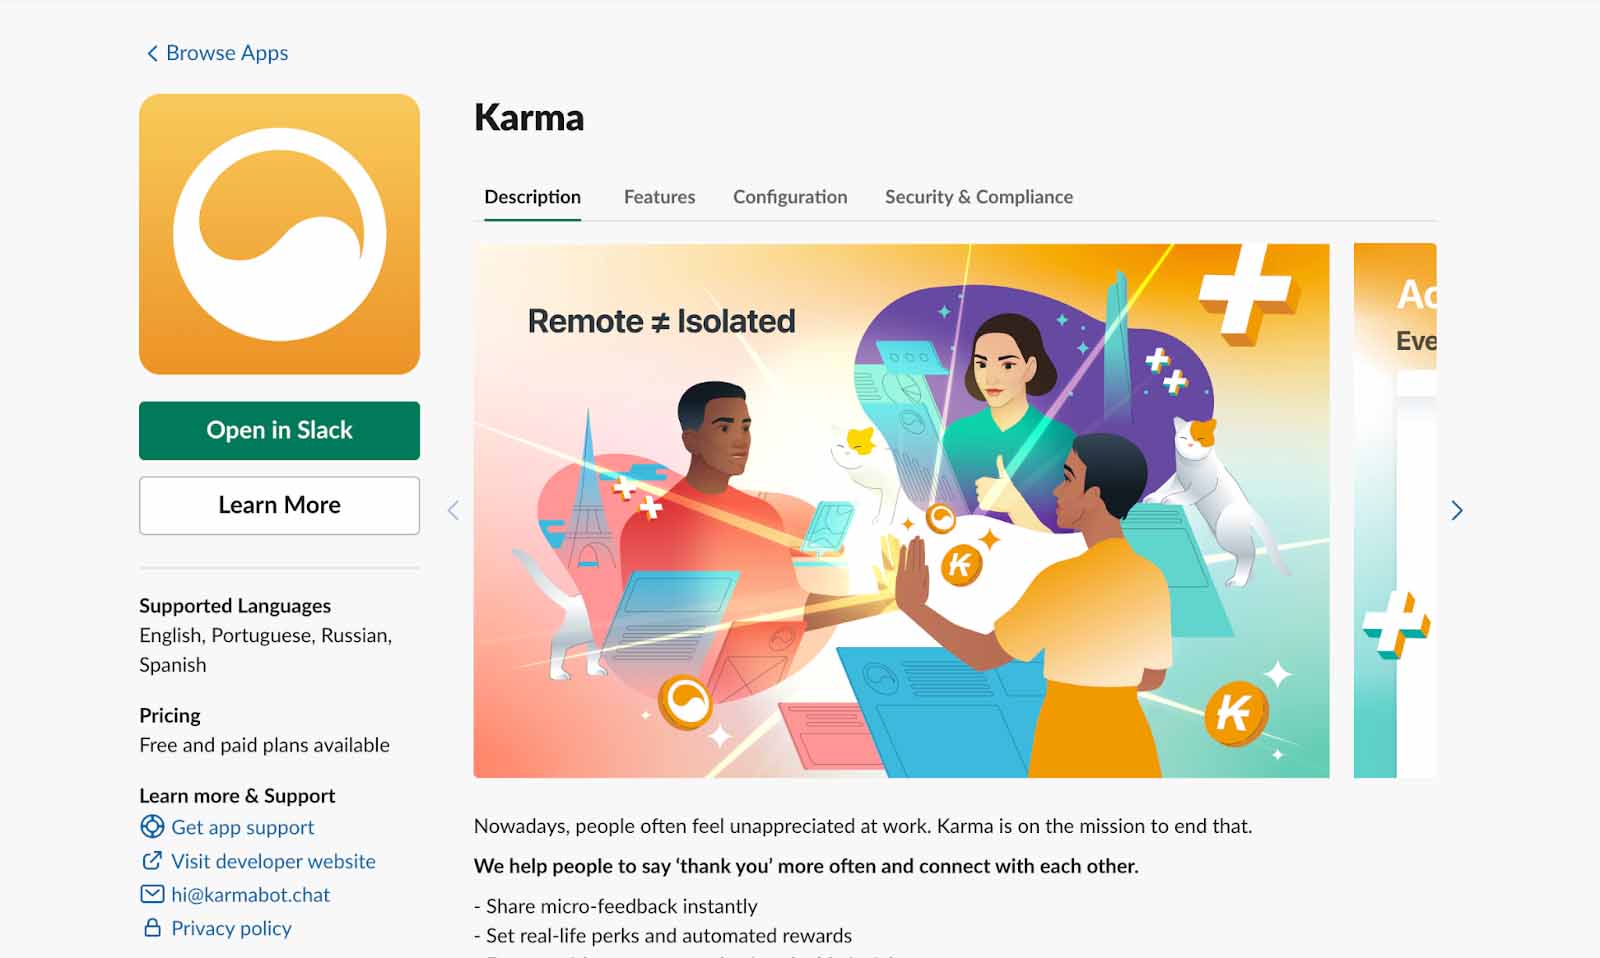
Step 1: Navigate to Apps in Slack: Here, you’ll be able to find Karma by using the search bar or scrolling through the options.
Step 2: Add Karma: Once you’ve located Karma, select “Add to Slack.” This will prompt you to review the app’s features and descriptions, as well as our partners and clients.
Step 3: Agree to the Terms of Service and Privacy Policy
Step 4: Review Security Policy: After agreeing to our terms and privacy policy, you’ll be prompted to review our security policy. This will detail the rights and permissions required by the Karma app. If you’re comfortable with the policy, you can click “Allow” to begin the installation process. Once you’ve granted permissions, Karma will be installed in your Slack workspace.
Upon installation, you`ll receive a message from Karma asking if you’d like to start onboarding. We highly recommend that you do the onboarding course as it will help you set up your product in a basic way without leaving Slack. It will also allow you to get used to all the simple commands and understand how the product works in Slack.
After completing the onboarding course, we recommend that you go to the Karma website and log in with your Slack login. Don’t worry, Karma does not hold any personally identifiable information on its end, and all identification relies on Slack, so everything is secure.
Global settings
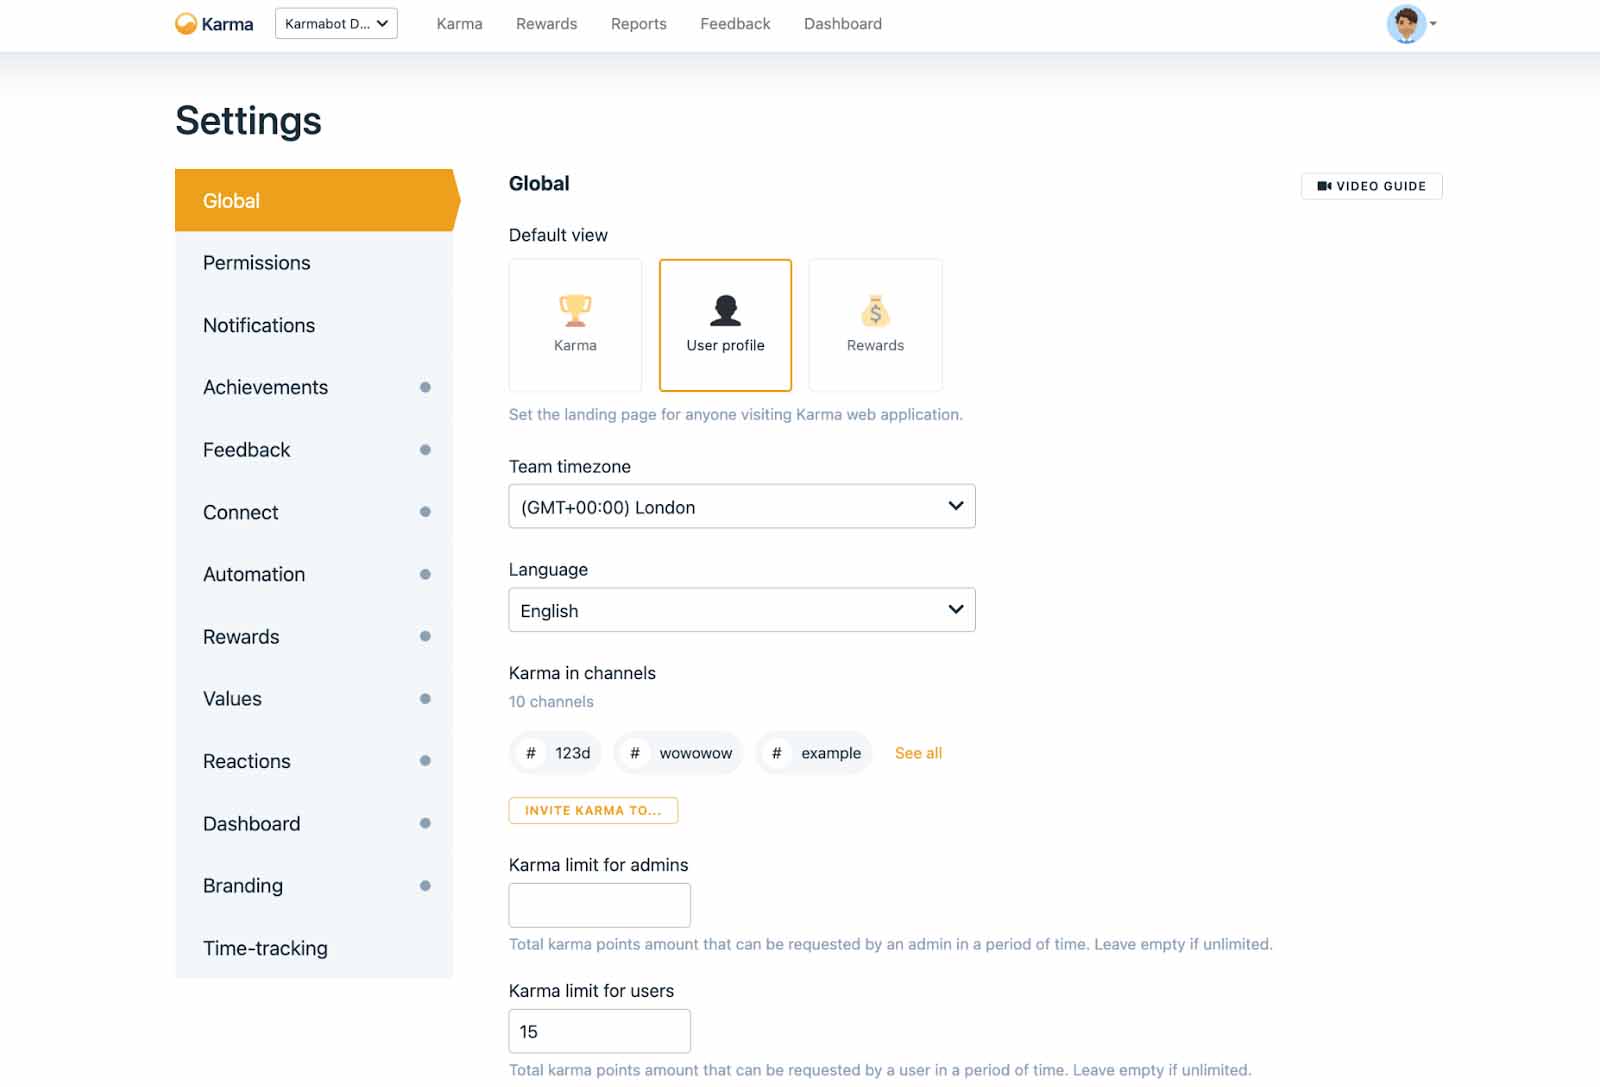
As an administrator setting up Karma for your team, the first step is to review the global settings. Here’s a brief overview of the key features available in the Global settings:
-
Default view: You can choose which page users see when they first log in to the Karma dashboard. Options include Karma, user profiles, reports, and rewards.
-
Team time zone: Set the time zone for your team so that notifications and other features are accurate.
-
Limits: Set limits on how much Karma can be given per request and within certain periods of time (day, week, month, and quarter). You can also choose whether moderators have unlimited Karma or are subject to the same limits as other users.
-
Micro Karma: Choose how much Karma to give for reactions in Slack and other channels.
-
Negative Karma: This feature is turned off by default, but can be enabled if desired. It’s not recommended for most companies, as negative Karma can be demotivating.
-
Karma rules: Customize the rules that apply to Karma recognition in your company.
-
Security contact: Set a security contact in case of a breach
Permission Settings
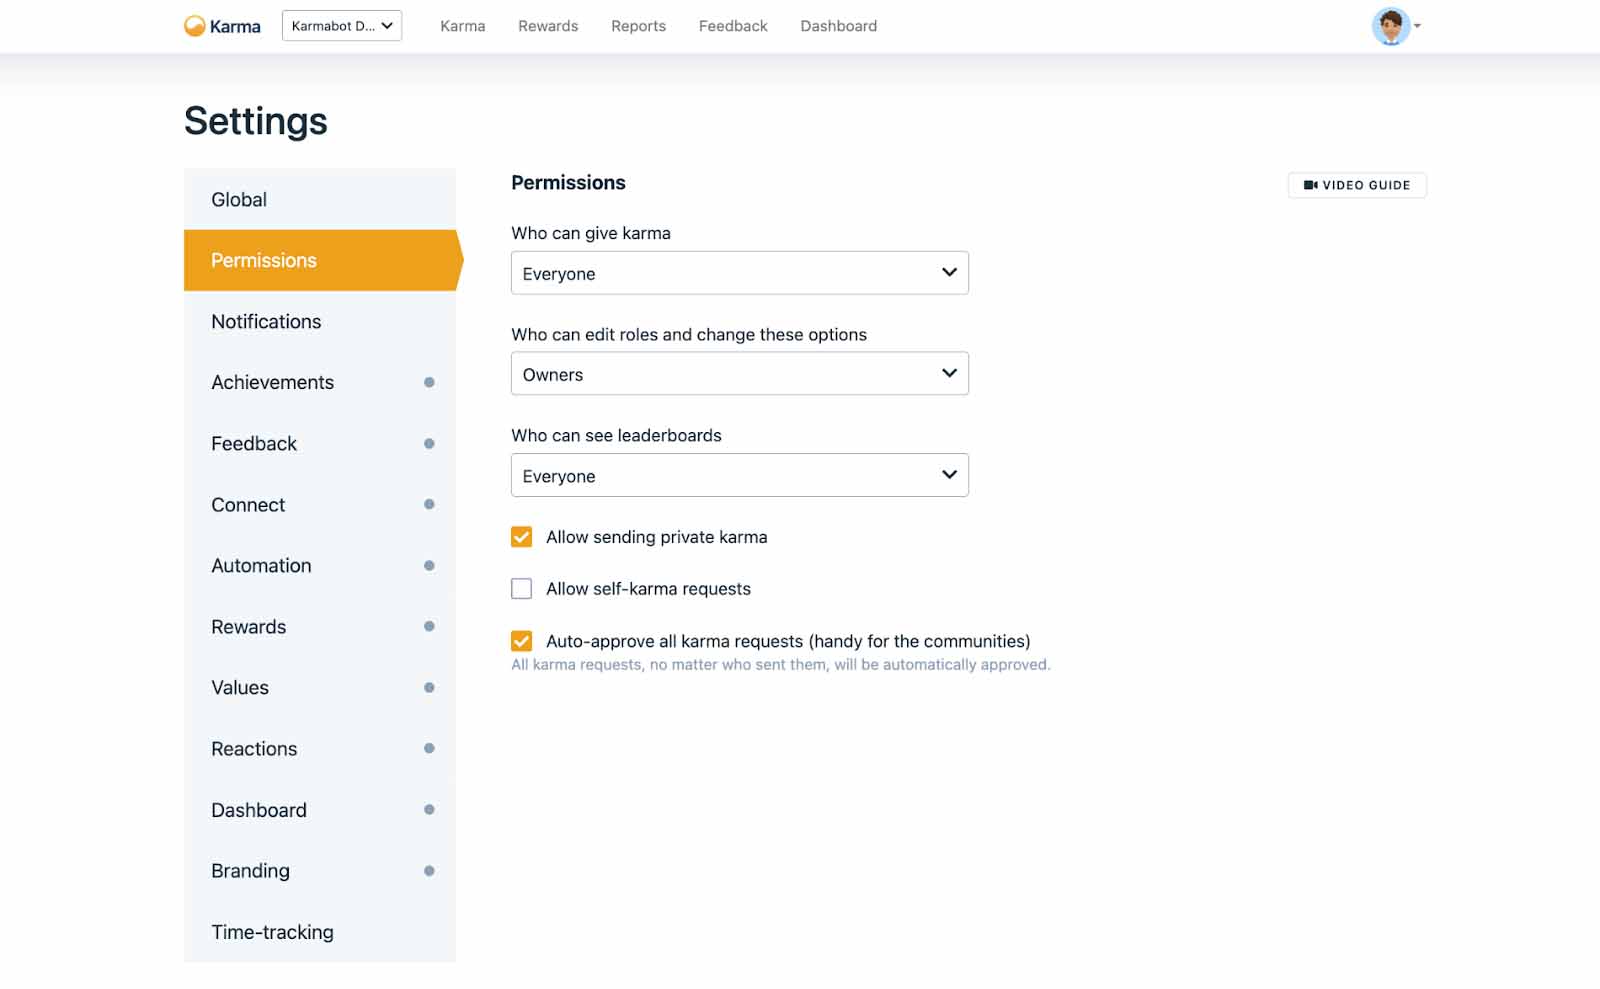
By customizing permission settings, administrators can ensure that recognitions are given transparently, and efficiently.
-
Choose who can give karma: Administrators can choose whether everyone or only owners and moderators can give recognitions. This ensures that recognitions are given consistently and meaningfully throughout the team.
-
Decide who can change native roles: Determines who has the authority to modify user roles within the Karma platform. By limiting this permission to a select group of individuals, administrators can ensure that only trusted individuals can access and modify important settings.
-
Allow self karma: Allows team members to recognize their own contributions. This feature can be set to require moderator approval before the recognition is made public, ensuring that recognitions are genuine and not abused.
-
Turn on approval of all karma requests: Determines whether all karma requests require moderator approval before they are made public. This setting can be useful for teams that value transparency and want to ensure that all recognitions are warranted, but it can also be turned off for teams that value efficiency and trust their team members to recognize each other appropriately.
Notification Settings
In Karma’s notification settings, you can customize the notifications you receive in several ways. Some of the things you can change include:
-
Global Notifications: Choose how Karma interacts with your Slack and the owners of the product. You can turn off notifications for changes in Karma or when someone gives you Karma, or turn them on if you want to receive them. You can also choose whether Karma should post responses to the original channel or in a dedicated channel.
-
Reminders: You can turn on reminders to receive notifications when a new channel is created and to invite Karma to that channel. You can also choose whether to receive reminders every time Karma joins a new channel.
-
Achievement Notifications: Karma has a badge system called Achievement. You can turn on notifications to receive updates whenever you earn a new badge.
-
Team Activity: Karma sends notifications based on your team’s activity. You can turn on notifications to receive updates on your team’s progress and encouragement to be more active.
-
Created Tips: Karma sends notifications when it thinks you haven’t been given recognition for a while. You can turn on notifications to receive these tips.
-
Response in Original Channel: You can choose to copy announcements to a dedicated channel to reduce interruptions.

That’s it! You’ve set up Karma and are ready to start using it. Remember, Karma is highly customizable, so don’t hesitate to make changes according to your requirements. If you have any questions, feel free to contact us anytime.